

Well, I am not even sure this qualifies as a tutorial. It is just too easy peasy! I'm pretty sure you'll be winging this yourself with a style all your own!

I could give you all kinds of to-do's, and I will give you a few . . . but this is one of those crafts you just can't really mess up!
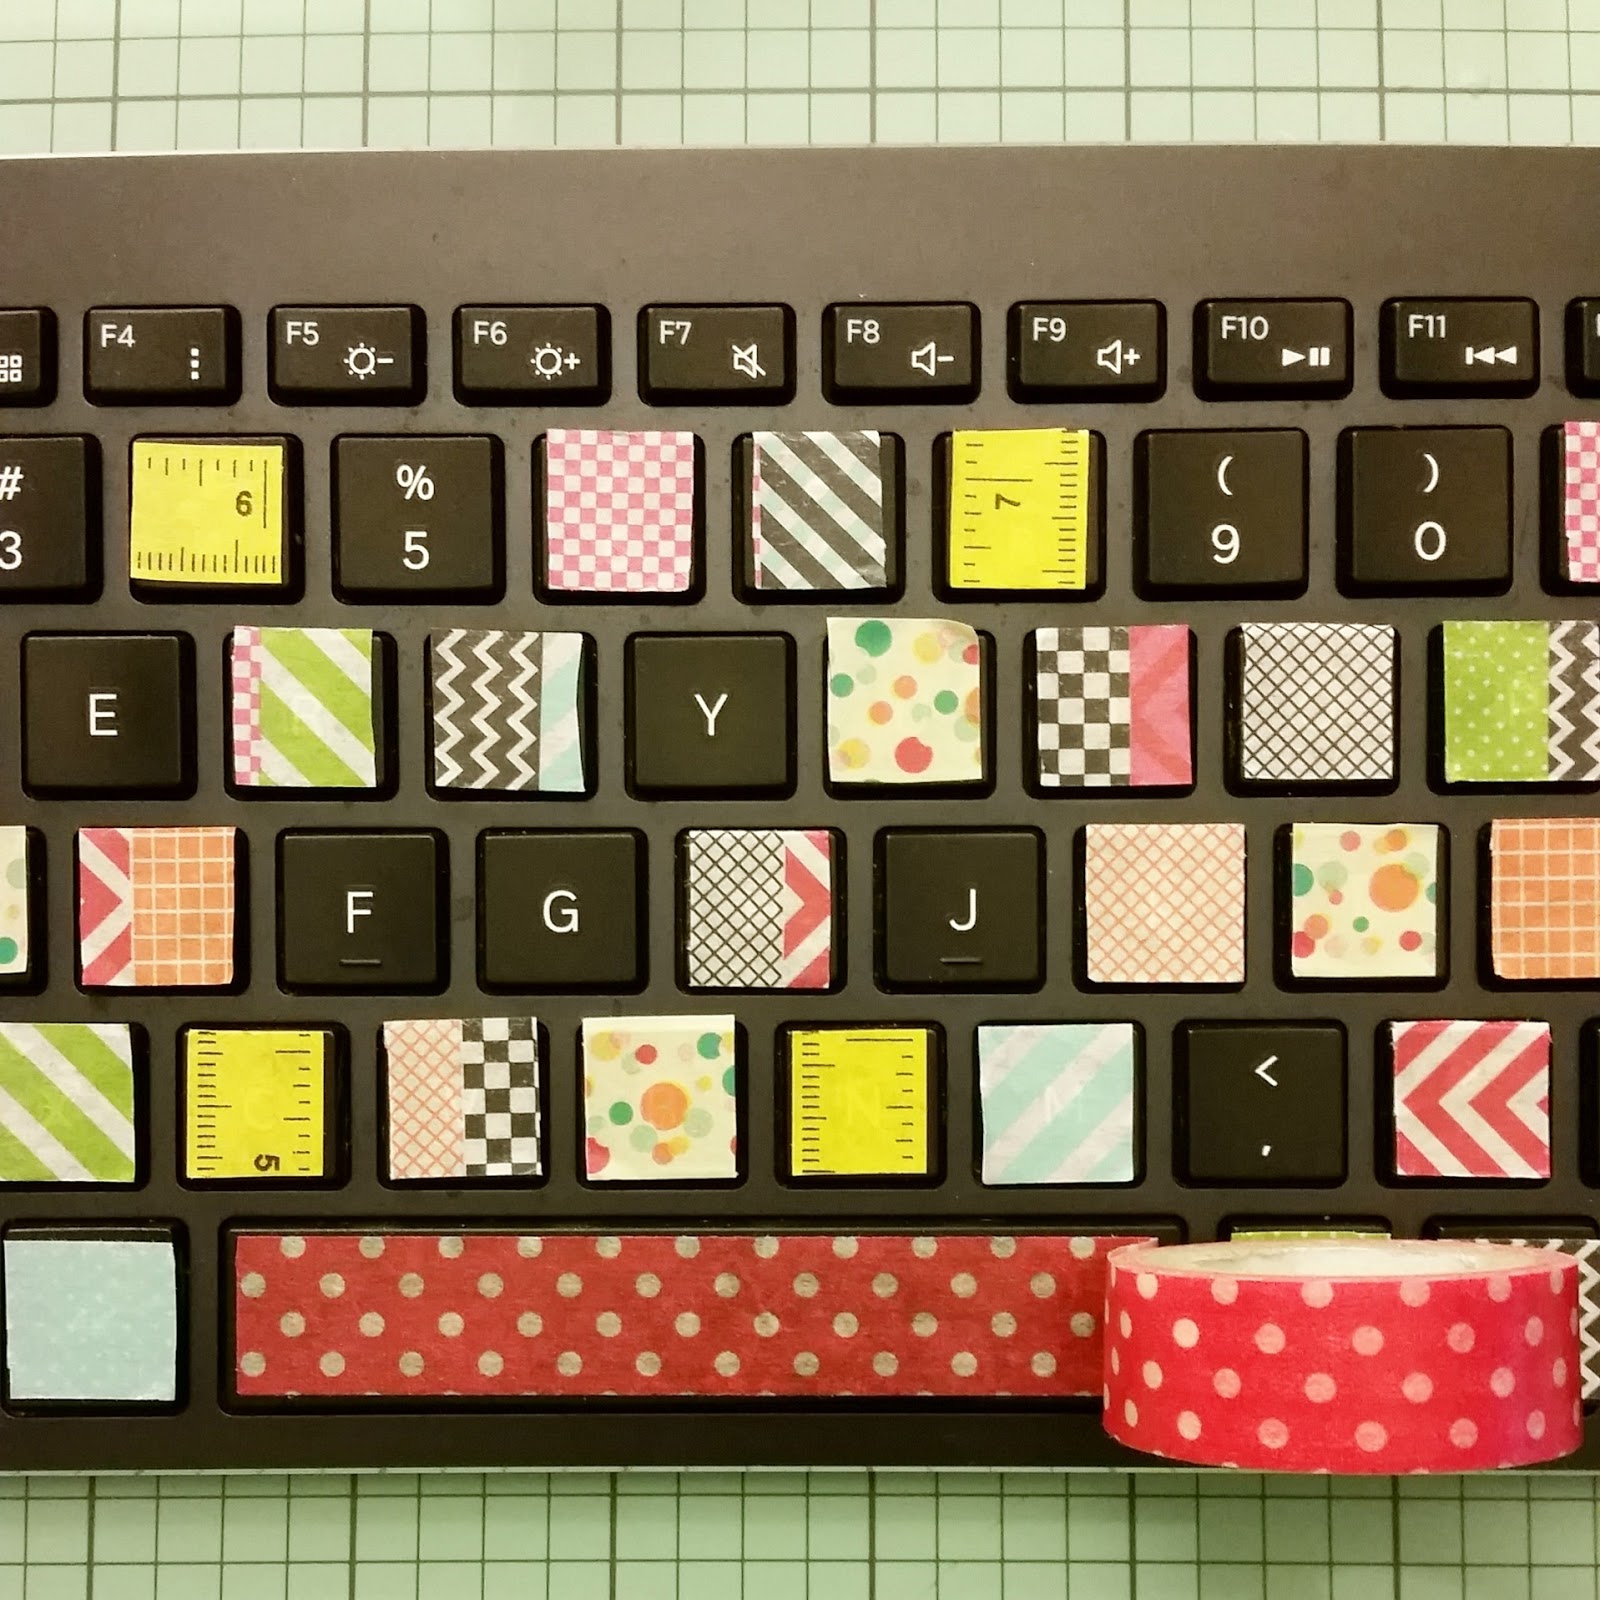
Example: This is a photo of my laptop keyboard. Still pretty cute, huh? ♡ I washi taped it almost 4 years ago, come this July! (And now you know the secret to my rather large washi tape collection . . . years of collecting AND I've only bought two new rolls, when I was at my sister's house last November!)

So you see it's quite durable and even though it's looking a little scruffy due to my gamer grandson playing on it non-stop for a week.

So here are the tools and materials you'll need:
1. Keyboard
2. Washi tape.
3. Exacto Knife. (optional, use only scissors)
4. Scissors.
5. Self-healing cutting mat (optional, use a bread board if you want)
6. Mod-Podge (optional, but this does make it semi-permanent and
way more durable. You can make your own "mod-podge" too
and save a little bundle of casharoo!
7. White gel pen.
8. Q-tips.
9. A ruler. (Optional)*
10. A photo of your keyboard before you start covering it in cute
washi tape! Or you could get one off the internet like I had to
because I hadn't written this tutorial yet! Hahaha!
*Even though I did my cutting on a mat with measurements printed on it, I didn't use them. I winged it. (wung it? sp?) I am so not an exact science kind of crafter . . . I cook the same way. That could be why sometimes my creations are so wonderfully crafty and at other times they are just plain crappy! :)

That's it! I had to get up and go look at the photo shoot in progress
for Part 2 tomorrow, to see if I was missing anything and NOPE . . .
that's really all it takes to achieve this techno-yumminess that will
make you smile every time you look at it! Seriously! I am still in
love with mine!

So are you wondering why in the heck do I need a part 2 for this tutorial, if I say it's so darn easy! Mostly cause I'm still catching up from gbaby #10 ♡. I'm getting back on track, but pacing myself, ya know?

You probably won't even need part two, cause you're good at winging it too! But, I am going to finish it for you tomorrow anyway!
And yes, I know. It's seems like just a big, fat excuse to do a fun and crafty photo shoot! ♡ I'ts my other addiction along with the washi tape, but you already knew that too, right? :)


So, I'll see you tomorrow guys! It's good to be back! Let me know in the comments what you would like to see me do a tutorial about next.! Or let me know what I can do to improve on this one! Do you have anything you've been wanting to try? Let me know!
Oh, and a BIG, GIANT, HUGE THANKS ♡ to all the ladies who purchased the Mixed Media & Scrapbooking Kit last month!

CRAFT HAPPY!

NANCY
XOXOXO